Epiphone- One time leader in hand crafted archtops
August 2015 project started
September 2016 update- the bodies and necks are still in the paint shop
December 2017 the 1940 is finished and the 1937 project is 'in progress'.
December 2018- The 1937 is finished and will update the page soon
 |
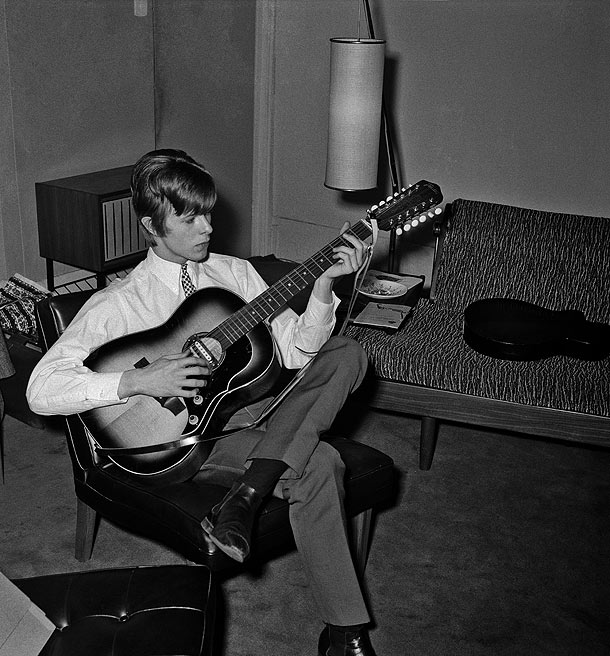
Paul playing a Zenith when the Beatles
started |
The Epiphone business was started by a Greek immigrant family out of New York City. Initially the business was lyres and repair then moved to banjo production with a 1925 acquisition. During 1931 a full line of archtop guitars was introduced achieving wide commercial success cutting into Gibsons market.
 |
1936 advertising campaign featuring a
nude woman holding an Epiphone archtop.
Innovative guitars and advertising. |
Throughout the 1930s, the rivalry between Epiphone and Gibson veered from friendly sparring to all-out guitar warfare. Gibson had a new archtop design in 1934, increasing the body width of its existing models and introducing the king-sized Super 400 (named after its $400 price tag). Not to be outdone, Epi replied the following year with the top-of-the-line Emperor, which raised the stakes with a slightly wider body and a provocative ad campaign which was one of the 1st with a nude model.
 |
1936 Woodbury soap advertisement which
was one of the first using a nude women
according to Ad Age. If Epiphone was
not 1st they were certainly early. |
By the mid '30s, Epiphone guitars were considered to be among the best in the world enjoying the patronage of the most respected players on the scene. Epiphone went inter-continental with a European distribution deal and a new showroom opened at 142 West 14th Street in a seven-story beaux-arts style building near Little Italy.
 |
| Old Epiphone Building 2014 on West 14th St |
Through the early 40s Epiphone was the largest and highest quality archtop producer. Their success was due to the Epi family innovation and quality standards as they outpaced all other companies. This changed during the war with the loss of one of the Epi brothers as a driving force in the company. Eventually the company was bought by Gibson and all production moved off shore.
Gibson invented the American archtop guitar category, took over during the 40s and continues to lead today. During the 30s and early 40s there was real high quality competition by others including Martin (see R18 post) and for a few years Epi was a real leader in these hand crafted guitars.
 |
Eventually Gibson buys Epiphone in 1957
and uses a nude to sell guitars. Ironic and a little sad. |
Archtop Models

The following production years for the models left to right: Blackstone (1931-1949), Broadway (1931-1957), De Luxe (1931-1957), Olympic (1931-1945), Royal (1931-1934),Triumph (1931-1957), Zenith (1931-1957)
Other archtops not pictured and started later production: Tudor (1934-1935), Spartan (1934-1949), Emperor (1935-1957), Ritz (1940-1945), Byron (1949-1954), Devon (1949-1957).
Project
We want to find a 30s Epiphone archtop and see how it compares to the R18 Martin from the same era. Eventually in another project we will get to Gibson. This period for Epiphone is special and curious to see if the sound and feel of the guitar is special as well.
Preference is for a pre war Epiphone with a bigger body than the R-18 Martin from the previous project. The Zenith and Olympic models are smaller bouts of the Epiphone line and the preferred models to work with based on my own playing preferences. 1930s models in good condition go for $1000 on the low end and typically for $1200 to $1400 on ebay or reverb online markets. After watching for a year or so two abused Zeniths came up as a single lot. A 1937 and 1940 from the peak years of Epiphone production.
This will be a long project. Pictures and description to follow. Some notes
Pre- 1958 Epiphone bindings are celluloid with an acetone based glue prone to shrinkage and cracking. Replacement is common. The bindings on one of these bodies needs a lot of work and the bindings on the other was probably replaced at some point.
The bad
- Finish on back of one body is well worn and spot painted with brown spray paint (37)
- Finish on the back of one neck is peeling and mostly gone (40)
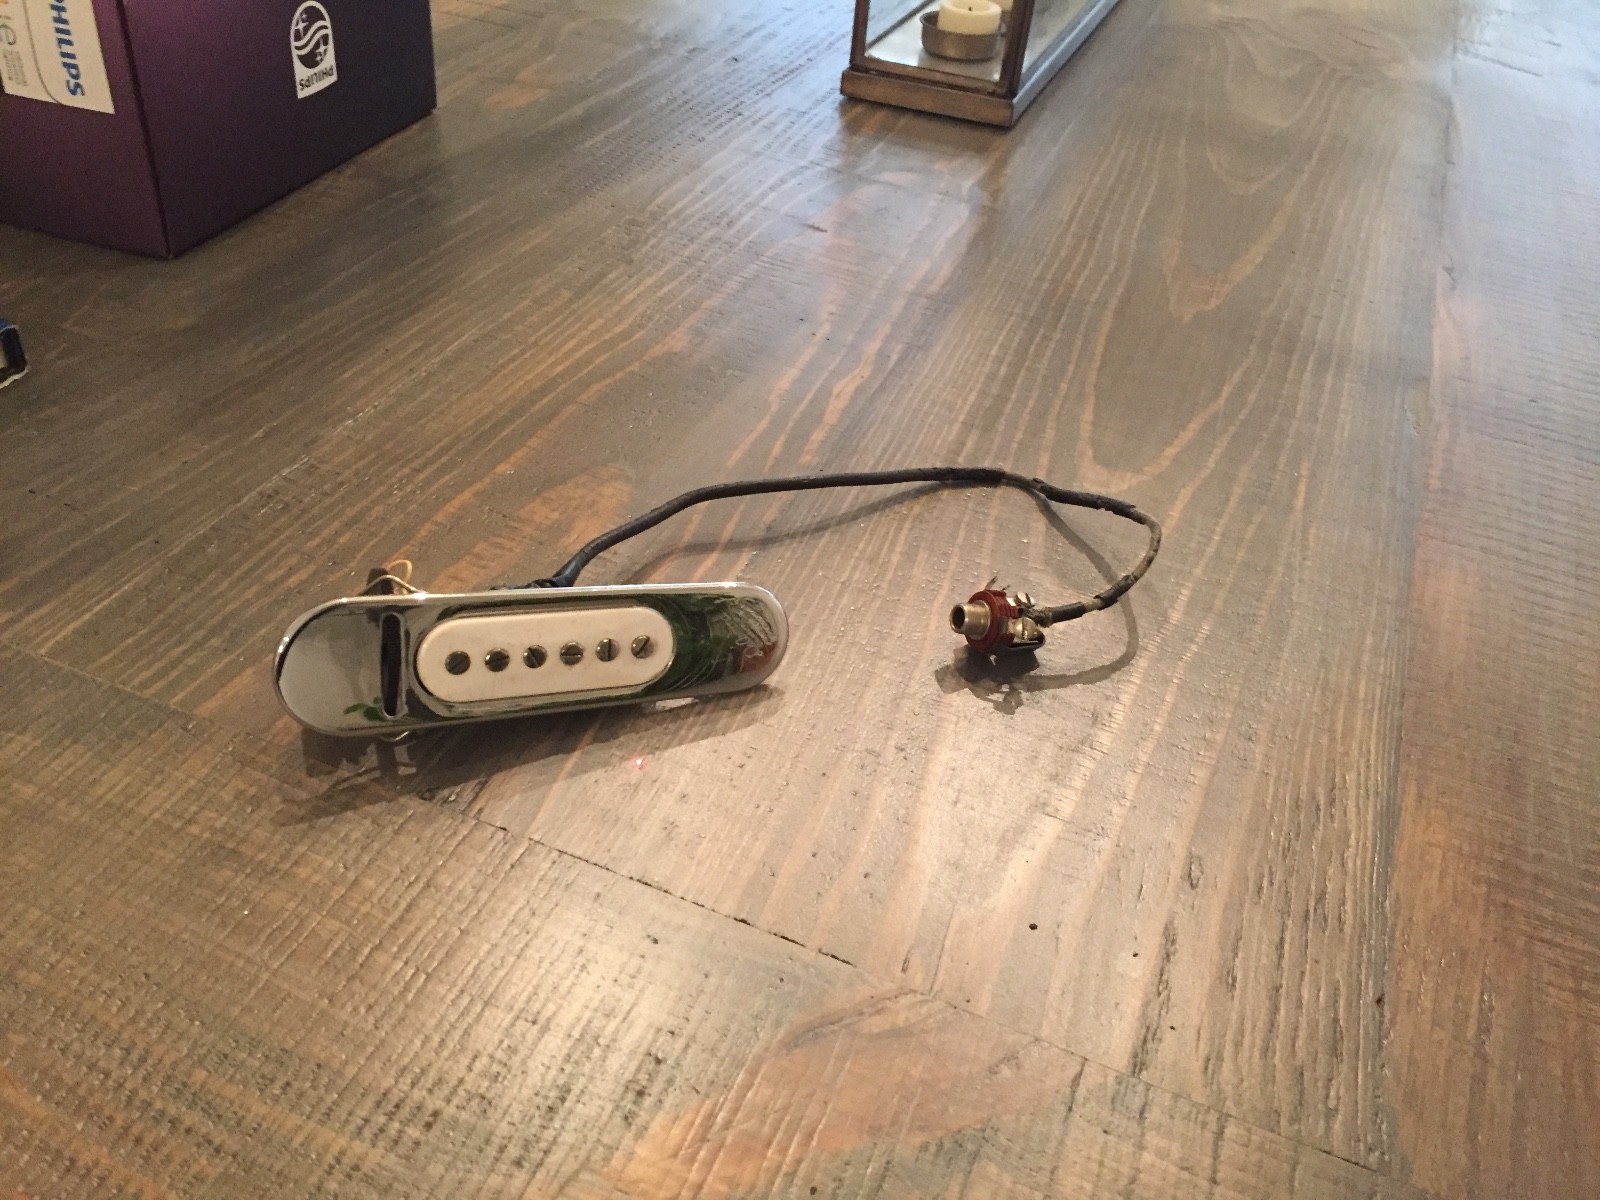
- One body has a jack hole drilled in the side lower bout (37)
- One neck is missing a celluloid heel triangle piece (37)
- One neck has 3 or 4 divot-ed frets and is missing one fret so will need a re-fret job (40)
- The bindings on one body needs a lot of work (40 back binding)
The good
- One body has a top crack but it looks like it was properly repaired the length of the crack from inside
- Finish on one body is very nice (B-) on the top (40)
- The trapeze piece on both guitars look original and in good shape
- One neck has original open back machines (40)
- The bindings on one was probably replaced at some point and is a decent job but side lacquer needs touch up (37)
So this will likely mean working on both guitars at the same time- Bindings, Neck Straightening (if needed) and truss rod rework, Frets, Set Necks, Paint/Finishes, Bridges and Hardware.

Paint
The first step is to decide what gets painted.
The body of the 37' was a mess. It had good bindings but paint was chipped and some areas look like they were spray painted to cover some wear. The body will be sanded and repainted in a sunburst to match the neck which was in good shape. The 40' body was in excellent shape and only needs a binding replacement on the back but the lacquer on the back of the neck was chipping off to the point it was unplayable. The back of the neck will need to be repainted.
 |
| Repaired crack |

 |
| 40' neck |
 |
| 37' back - spray paint |

1940 Re-fret, new bridge and other minor repairs
The stripping/sanding/ lacquer will be done by Curt at Old School Guitar in Hopewell, NJ http://oldschoolguitar.net/. They went in early January and no rush so we will pick this up after the paint dries.
 Guitar after repainting the neck, neck mounting and back binding replacement by Old School Guitars
Fret Removal and Installing New Frets
 First run a blade along the frets. This may help reduce chipping when the frets are pulled
 brush some water on the fret and heat with soldering iron while using fret pullers.
 Start on one end or do both ends first then work toward the middle.

Measure the old frets with a micrometer to size them. Here is a link to a size chart:
http://www.lutherie.net/fret.chart.html
I used Dunlop 6230 as replacement
 After pulling there is a little lifted material. You can feel the ridges running your hand down the fretboard.
Press the material back down into the fretboard with a sanding block or some other flat smooth metal tool
At this point the fret board can be sanded if there is an issue. I leave them alone unless there is a surface problem to fix.
Run a triangular file through the slot to slightly widen the top of the slots. This will help the new frets seat tightly
Clean the grooves with a curved blade carving knife

Bend the fret wire to a tighter radius than the fretboard and overbend the ends if necessary to ensure the ends stay tight and dont pop up.
The fret bender is homemade using skateboard bearings, bolts and a ping pong paddle.
Fit each fret and keep in order
Installing over the body is tricky. Sound hole guitars have clamps or other devices to deaden hammer blows so you dont damage the body and help with deadblow hammering so the frets does not bounce out of the hole.
In this case I held the neck around the heel keeping the guitar off the bench and struck the frets. The tape marks the extent of a crack I checked after each blow to see if it advanced and it was fine. The crack is fixed below.
The neck is supported with a bag filled with rice to ensure dead blows and firm support.
One of the fret slots was too wide and kept popping out. Below the slot is checked with a bent piece of fret wire to see if it is wide all the way across and it is.
 The fret tang is widened using Stewmacs tool.
Not shown here but the next step is to put a drop of thin superglue on each side of every fret then spray with activator.
Below the fret ends are cut with a cheap pair of fret cutters. The handles are too short for leverage so vice grips are used to squeeze.
 Razor scrape into each side of each fret. this will clean up any staining from the superglue.

Prior to dressing the fret ends place scotch tape in a few slots so you can tell when you are close to hitting the neck.
First file with a flat file to square off ends
Here you can see where the filing has hit the tape but not the wood so time to stop.
Below are 3 filing steps for the ends. First is a 30 degree angle file run along the neck followed by a rough grit flat file to take off burs that art parallel to the neck. Last is a small file rolled over each edge to round over the profile.
This takes time and keep at it until it is smooth when you run your hand up and down the neck.
Now comes fret leveling. Mark the fret tops and level with 320 paper mounted to a long block. I use a large block plane with the blade removed.


Use a fret rocker to check each fret string position for high spots. Go back and level each high spot.
Below a ramp is sanded by placing 3 pieces of masking tape on the 12th fret then marking and sanding the lower end of the fret board. Tape is placed on the plane to ride over the masked off 12th fret. Sand until the 14th fret looses its marker line.

I use this crowning tool running medium then small over the frets. Use a marker to stop when a tin line remains.

This will give a nice rounded fret and help smooth the end transition.
Last step is polishing. Use a fret guard to protect the neck from scratching. Use 600 paper, 800 paper and a dremel polishing wheel.

Minor Repairs- tuners, bridge, crack fill, re-cut nut slot and fret high spots
 A few final steps before strings go on. Lube the machines with Teflon lubricant.
Crack is shown below. A flashlight is held on the top and the light can be seen in the body. This will tell you if there is a patch behind the crack. In this case no patch and it is thin so to stabilize it wood glue is forced into it and checked after the glue dries.


A compensated bridge is cut from old rosewood and grooves carefully cut with a set of wire files. Procedure to get spacing right is:
- string guitar
- place the bridge under loose strings
- move the strings to the proper spacing on the neck
- one string at a time move the string over and file a grove on top rolling the file so the back of the bridge groove has a rounded back.
Set the string height
After checking the notes at each fret there were 2 problems to fix. The 5th string buzzed at the 1st fret so the nut slot was too deep. The buzz disappeared with a piece of the 2nd string forced under the 5th string.
This was corrected by placing some bone file dust in the slot and dropping some thin super glue in then refiling the slot.
Second problem was a note buzz at 3 different strings and frets. Checked and there were 3 slightly high fret spots at the buzz locations confirmed with a fret rocker. These were fixed by:
- spreading the loose strings with cardboard
- flat filing the high spots across the neck
- checking with a fret rocker
- re-crowning and polishing
 |
| 1940 Epiphone Zenith next to a 1937 Martin R-18 |
1937 Re-fret, new bridge and other minor repairs
Specs and other info
1931 Zenith introduction specs:
13 5/8" wide.
Segmented F-holes.
Maple back and sides.
Dot fingerboard inlays.
Single bound top and back.
Sunburst finish.
1934 Zenith specs:
14 3/4" wide.
Walnut back and sides.
Stickpin peghead logo.
Block peghead logo.
1936-1969
Body: Grand Auditorium sized body 16.375" body width
Carved spruce top
Walnut back & sides (1936-1948)
Maple back & sides (1949-1969)
Standard F-holes
Neck: Set 3-piece mahogany neck
Adjustable truss rod
Rosewood fingerboard with pearl inlays
Double-dot inlays at 7th fret 1936-1957
25.5" scale
1.68" nut width
Neck Variations:
Tombstone-style headstock (1936-1938) no truss rod
Open-book style headstock (1939-1966) with truss rod
1954 Zenith specs:
Blond finish available.
Vertical oval peghead inlay.
David Rawlings achieves his signature guitar sound flatpicking a small archtop guitar. The 1935 Epiphone Olympic that has been his primary instrument was a mid-priced guitar for its time, with a carved arched solid sprucewood top, carved arched solid mahogany back and mahogany sides.[1] It sold for about $35 in 1935.[2] The guitar's lower bout measures 13 5/8 inches wide, and it has three piece f-holes.[1] (Wikipedia)
Epiphone Olympic archtop.
1931 Olympic specs: 13" wide, mahogany back and sides, 3 segmented "f" holes.
1933 Olympic specs: 13 5/8" wide, trapeze tailpiece, rounded end fingerboard with dot inlays, rounded non-peak peghead, sunburst finish.
1934 Olympic specs: decal logo with "Epiphone" on a banner and "masterbilt" underneath banner.
1937 Olympic specs: 15 1/4" wide, standard "f" holes. Tenor and plectrum version available.
1942 Olympic specs: script peghead logo with tail underneath.
1939 Olympic specs: center dip peghead.
1950 Olympic specs: discontinued.