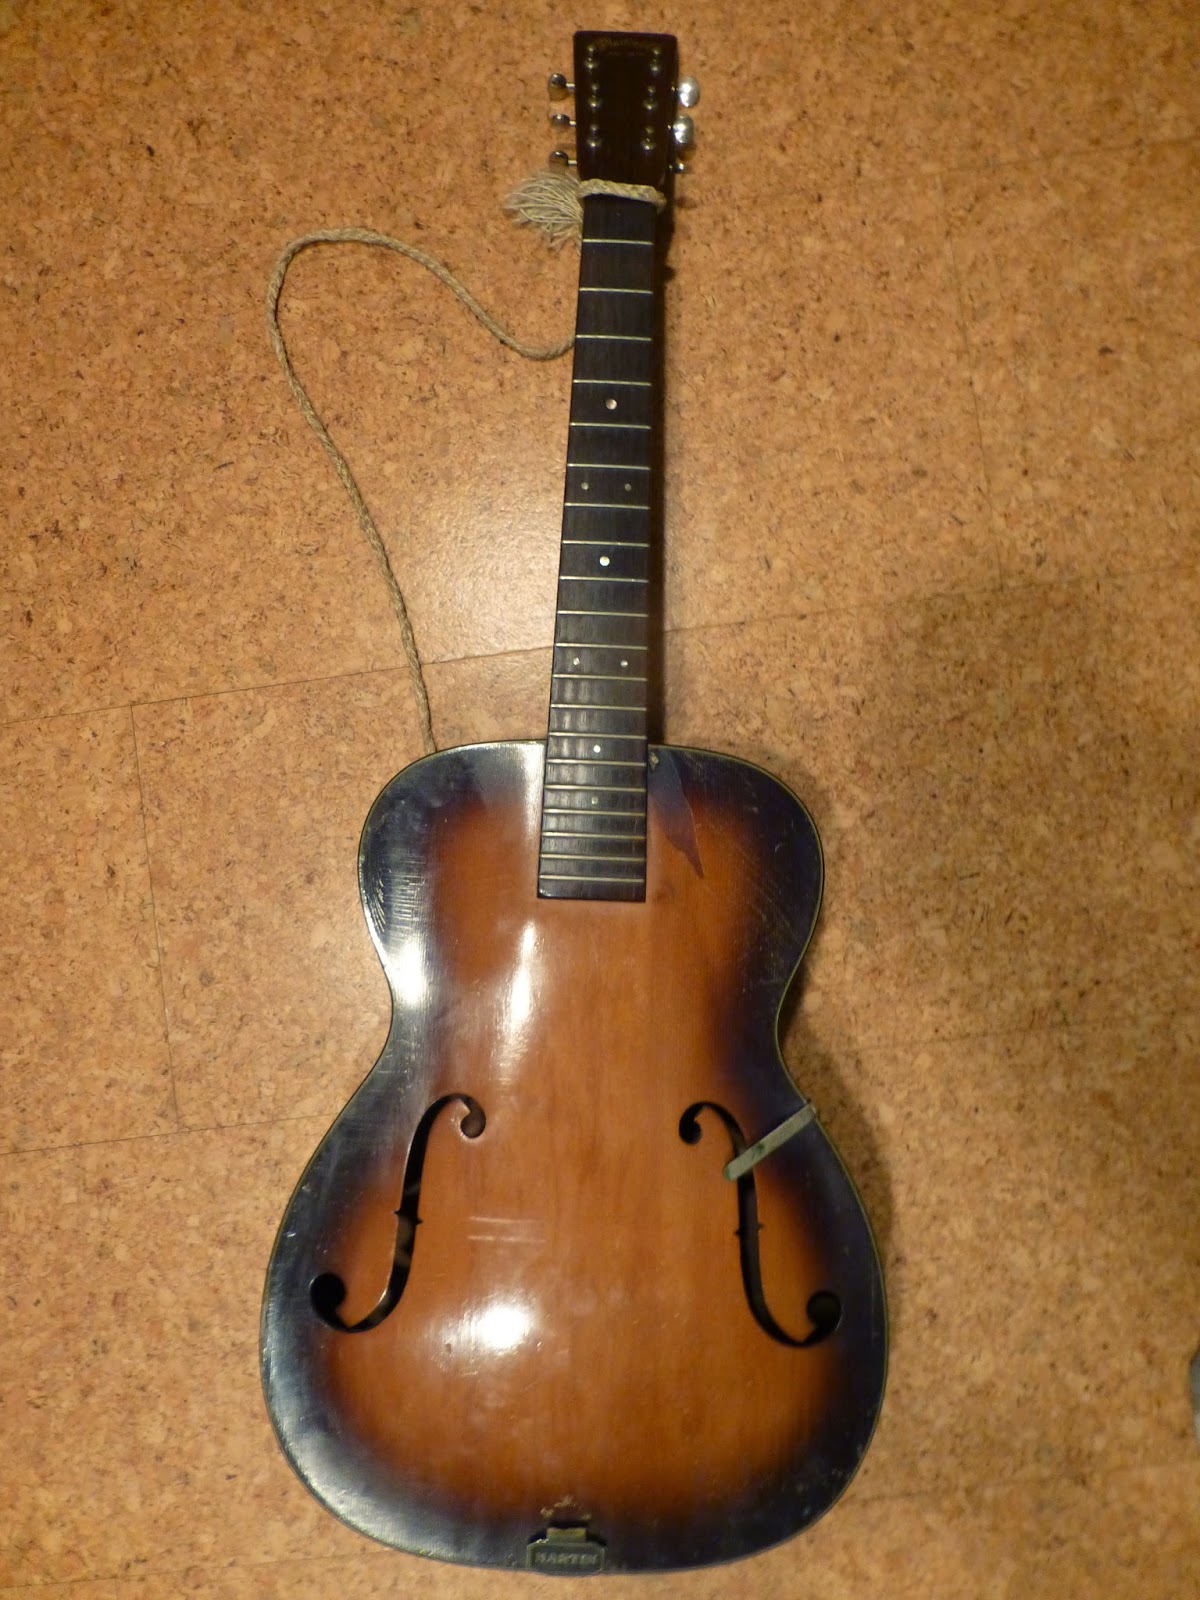
This project will be to take this somewhat rare Martin archtop and restore it with a tailpiece and bridge replacement that hopefully will have it approach its original sound and style.
Missing pieces are the tailpiece, bridge and pickguard. Spent a few months searching for original replacement parts including checking with Martin. Nothing available.
The easy fix is to order the stock mass produced parts from a supply house. The more interesting fix is to replicate the pieces as close as possible compared to the original especially the bridge since this could and should impact the tone quality of the guitar.
I have also read some articles on how the material the bridge is made of effects the tone. It may be interesting to see if a large footprint bridge or bone section in the bridge impacts volume or tone. I expect Martin spent a lot of time on this and the original equipment does the best job.
Replacement Parts- Tailpiece, Bridge and Pickguard
 After looking at on-line photos the image at the right is what will be reproduced and I believe these are original to the 1937 R18. This was not so easy since Martin changed the design almost every year (see 'History' section below and many existing old guitars have had parts replaced.
 The tailpiece was made by Grover and other parts made by Martin. Both Grover and Martin were contacted to see if they had old parts or old drawings and they both had nothing to offer. Also checking a few community forums for pieces and help.
Bridge: Rosewood with ebony thumbwheels
Tailpiece- Nickel plate over steel or brass
Pickguard- Dark tortoloid in a heavy 1/8" thickness with eased edge
Tailpiece

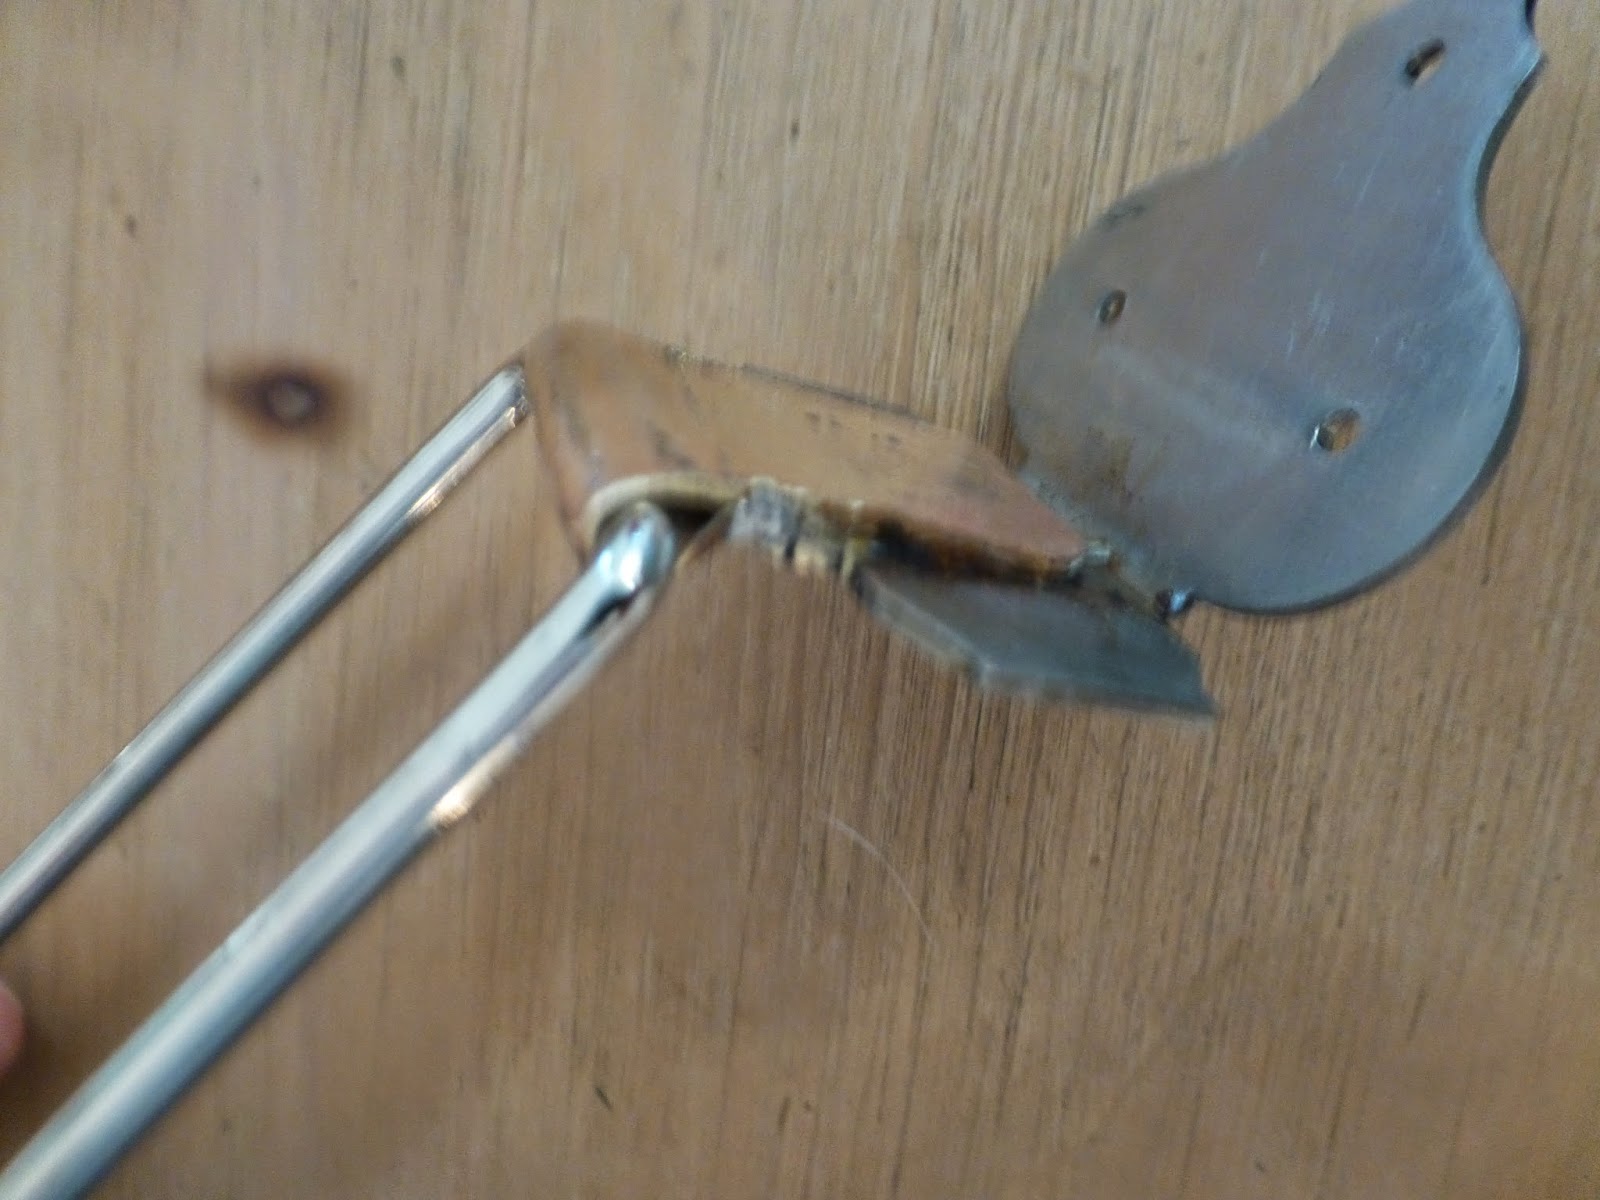
The guitar came with an important part of the original tailpiece. The bottom section with the 'Martin 'embossed in the metal. It is made of brass or bronze and the hook portion broke off. The choices are to modify the original piece or attach it to another piece. After a few beers I decided to try attaching it to another piece since I could try this and if it did not work out I could modify the original piece.
Kluson makes a vintage archtop tailpiece that is nickel plate over steel cast using vintage tools from the 30s - 50s. It is a 4 bar design rather than the 6 bar design of the Martin original. Ordered one to see if I could make it work.
First Attempt- The good news was the tail separated from the string brace. it was set up to attach differently than the Martin so bent and ground in different spots.
 |
| original piece |
 |
| Kluson tail modified with bend and grinding some sections so it hides behind the Martin piece |
 |
| Kluson tail sistered up with Martin section |
 |
| Looks good but the holes do not line up so using this will mean some new drill holes |
Second Attempt- I do not want to drill holes in the guitar since it will forever mark it as modified. I found an original Martin tailpiece from an earlier year (on it's way) so now I have a good backup and can try modifying the broken tailpiece that came with the guitar.

Started with some 1" X 0.032" X 12" brass plate (Amazon for a just a few $$). Since the Martin tailpiece is nickel plated brass this should solder or braze well together. This was cold rolled into a loop so it could be soldered onto the back of the Martin hinge piece.
 |
| Poor photo but this is piece clamped up for soldering |
 |
| New loop piece attached |
 |
| 1937 Original |
 |
| Current Repro Piece |
Bridge
The bridge is going to be a woodworking adventure especially the ebony pieces. Ebony and old stock brazilian rosewood was picked up on eBay. The best pictures and help on the bridge comes from the Unofficial Martin Guitar Forum and specifically from some work by one of the members:http://theunofficialmartinguitarforum.yuku.com
Littlewingsn work:
http://theunofficialmartinguitarforum.yuku.com/topic/89236/Martin-archtop-bridge-help-needed-FINISHED-MAKING-EBONY-RE#.U52T-PldWSq
Here are closeups of what needs to be made:


To make the bridge we need the ebony thumb wheels, ebony pegs and rosewood pieces. Lucked out with the thumbwheels. It is not impossible to cut them by hand but very difficult. The forum member listed above was willing to help out.
 |
| Here are the thumbwheels Just like Martin used to make |
With the thumbwheels done the next step is the rosewood pieces of the bridge. This will be fairly simple cutting and carving over the next few weeks.
I was able to pickup an old piece of brazilian rosewood just thick enough to use for the bridge.
 |
| Center piece of darkest wood cut and squared off |

 |
| 3 Blanks cut - 2 rosewood and 1 ebony |
Will make:
- The replica 2-piece rosewood bridge with ebony thumb wheels,
- The same in ebony to see if it results in a different tone
- A rosewood 1-piece bridge to see if this results in any differences.
The rosewood 1-piece is done first since it is easier and acts as a prototype for the others. Here it is:
 |
| Sanding profile by taping 80 grit on the archtop. Different bridge to show technique |
 |
| One piece rosewood bridge needs some oil to darken it to match the fretboard |
The work on the ebony and rosewood replica bridges went ok and it took about 16 shop hours. When everything was done there were 4 bridges for the R18.
 |
| Top to Bottom: Stewmac bone, Rosewood 1-Piece, Rosewood '37 Replica Ebony '37 Replica |
 |
| Top to Bottom: Rosewood 1-Piece, Rosewood '37 Replica Ebony '37 Replica |

Pickguard
Start with a template made from cutting the shape out an internet photo and getting the size right enlarging on a copy machine.
Final Assembly and Finish
The guitar came with wear and missing parts so the purpose of the project was to keep the body intact and replicate the original pieces as closely as possible. The easy thing would be to throw new stock everything on it and drill new holes for a new tailpiece but it would be painful to look at.
I was able to buy a 30s Martin original tailpiece but I will just keep this in the case for now since it is a different design than the '37.
Final assembly and finish was a little hand polishing on the body, buffing wax on the bridge pieces to match the color and shine of the worn finger board and fixing the nut with superglue and bone powder since the grooves were to deep on a few strings. The nickel plated new section of the tailpiece was also reliced in an acid bath to look properly aged.
 |
| Project Final |
 |
| Original '37 |
Time for a beer and play some blues or something.
R18 Background Info - History and Reference Photos
The archtop guitar was invented by Gibson in the late 1800s based on the archtop on violins, cellos and other wood instruments. Gibson made the carved tops which is more labor intensive cutting from a thick piece of wood rather than pressed tops where the curves are machine pressed using steam tables and typically laminated wood. Martin ventured into archtops to compete with Gibson and Epiphone. They moved to carved rather than pressed tops in the late 30s but the tone and quality issues were a challenge since each tone wood top form needs to be sounded for resonance as it is carved. Martin archtop models C1, C2, C3, F1, F2, F6, F7 all larger body similar to 000 size flat top and the R17 and R18 similar to 00 size. All are thin body and not "D" size. All styles C,F and R started 31-34 with some specific models later. All stopped 42 and no archtops since from Martin. These may be the most labor intensive and 'handbuilt' models to come out of the Martin factory.
CF Martin built model R18 guitars in slightly different configurations from 1932-1942. It is estimated that a total of 1,927 were produced during this time. This is a depression era instrument intended as a small bodied archtop jazz guitar with a pressed or carved spruce top and Honduran mahogany back and sides. Also popular for blues and modified for slide.
Typical features: Available with sunburst lacquer finish and f holes were 3 piece and later 1 piece carved in the top. The top of the body typically has four ply binding and the arched back is single bound. A raised tortoloid pickguard was standard but may be removed. The serial number, model number and CF Martin logo are engraved in the bracing on the inside of the guitar. The CF Martin & Co decal logo in gold lettering applied to the Brazilian rosewood headstock overlay. The mahogany soft V shaped neck with a Brazilian rosewood fingerboard, eight dot pearloid inlays with 20 frets, 14 clear of the body. Nut width is 1 3/4" while the neck scale is 24 3/4". Other features include open Grover Sta-Tite tuning keys with butter bean buttons, an adjustable rosewood bridge, and a chrome trapeze tailpiece with Martin stamped on the hinge plate
Arch top body is like a 00 size flat top, 12 frets clear of the body, 14 1/8" wide across the top, arched spruce top, back not carved but arched by braces, 4 ply top binding with black outer layer, sunburst top finish.
1932 Style R-18 introduction specs:
Inside body stamped as 00-18S (instead of R-18)Round sound hole
Top is not carved, but arched with braces.
1933 Style R-18 specs:
Stamped R-18 on inside of body
3 piece f-holes starting in late 1933.
3 piece f-holes starting in late 1933.
1937 Style R-18 specs:
Top is now carved
1 piece f-holes.
1 piece f-holes.
1942 Style R-18 discontinued
Picture Gallery of Martin Archtop TailPieces
 |
| 1937 R-18 |


http://www.calgaryuke.com/ukerichard/images/martinarchtop_bridges/catalogue.html
Recently for sale as all original 1937 with tailpiece described as "Grover Pat. Applied for" with Martin stamp on bottom.
http://www.elderly.com/items/45U-1535.htm


